


DOWNLOAD SEKARANG


MPO700: Promo Judi Bola Slot MPO Online Terbesar Indonesia
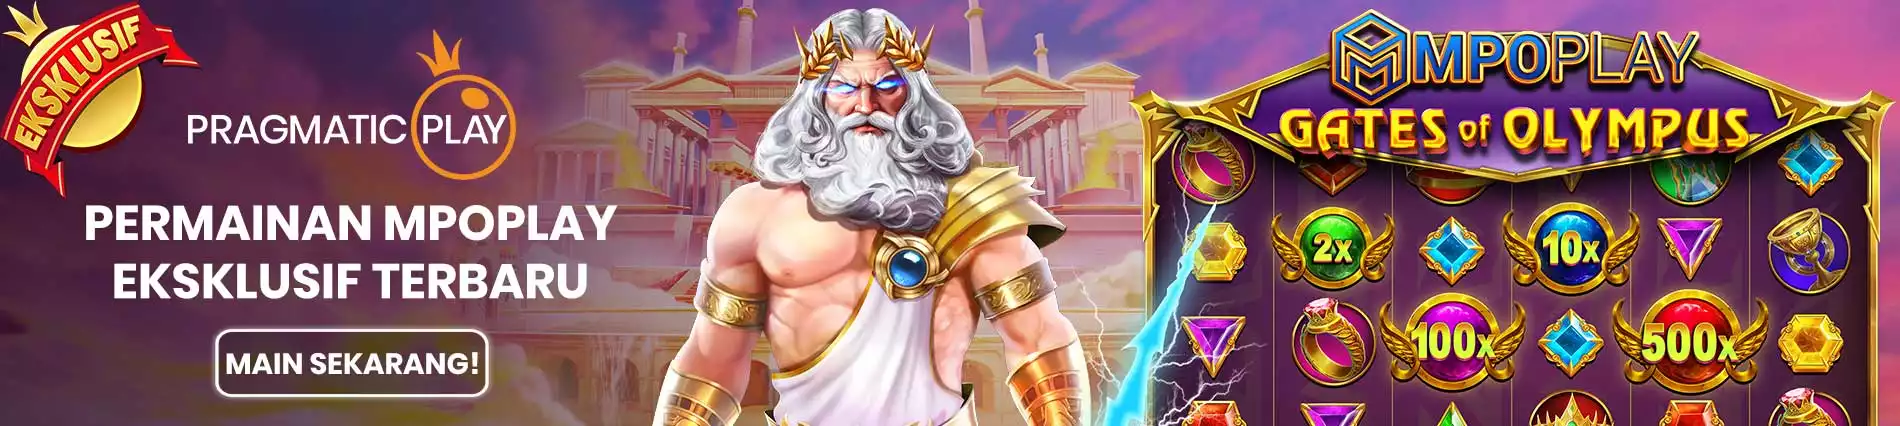
Awal munculnya judi ini adalah karena ada beberapa permainan yang bisa memancing keseruan dalam bertaruh uang. Awalnya orang awam yang pertama kali bermain tidak mengetahui bahwa akan disebut sebagai judi ataupun gambling. Namun perkembangan yang semakin maju dan manusia semakin mampu berpikir lebih baik maka dinamakan lah permainan ini sebagai judi. Sebuah permainan dimana yang ikuti bertaruh harus memiliki modal uang dan memilih berbagai pilihan yang ingin ditaruhkan. Dan yang mana ditaruhkan ini akan menghasilkan satu orang pemenang. Jumlah uang yang ditaruhkan dalam pilihan dan juga peraturan semuanya harus dijelaskan dengan detail sebelum bertaruh. Perkembangan jaman yang semakin maju maka muncullah MPO700 sebagai salah satu Situs Slot Online yang lengkap dengan Promo Judi Bola Slot MPO Online Terbesar Indonesia. Permainan yang dapat anda temukan di situs ini pastinya adalah Slot Online, Casino Online, Judi Bola Online, Tembak Ikan Online, Poker Online, Togel Online, Sabung Ayam Online dan banyak permainan lainnya. Pastinya yang perlu diketahui adalah semua permainan yang barusan disebutkan bisa dimainkan hanya dengan satu user id saja. Ini ditujuankan agar member lebih mudah bermain bersama MPO700.
MPO700: Pembayaran Judi Online Yang Lengkap dan Mudah
Jangan ragu untuk bergabung bersama MPO700 karena telah tersedia berbagai jenis Pembayaran Judi Online Yang Lengkap dan Mudah seperti deposit via bank lokal ternama indonesia, deposit via pulsa xl dan telkomsel, deposit via e-wallet seperti dana, ovo, gopay, linkaja, doku, jenius dan masih banyak lagi. Tentunya ini untuk mempermudah member dan mencakup semua pembayaran yang diinginkan member. Dan yang perlu diketahui lagi sangat murah sekali untuk melakukan deposit di MPO700 hanya dengan modal deposit Rp. 15.000,- sudah bisa bergabung jadi member dan memulai bermain. Dan withdraw atau penarikan saldo juga sangat murah dengan hanya Rp. 50.000,- sudah bisa menarik saldo. Yang pastinya ini hanya minimal saja dan untuk maksimalnya pasti tidak terbatas.
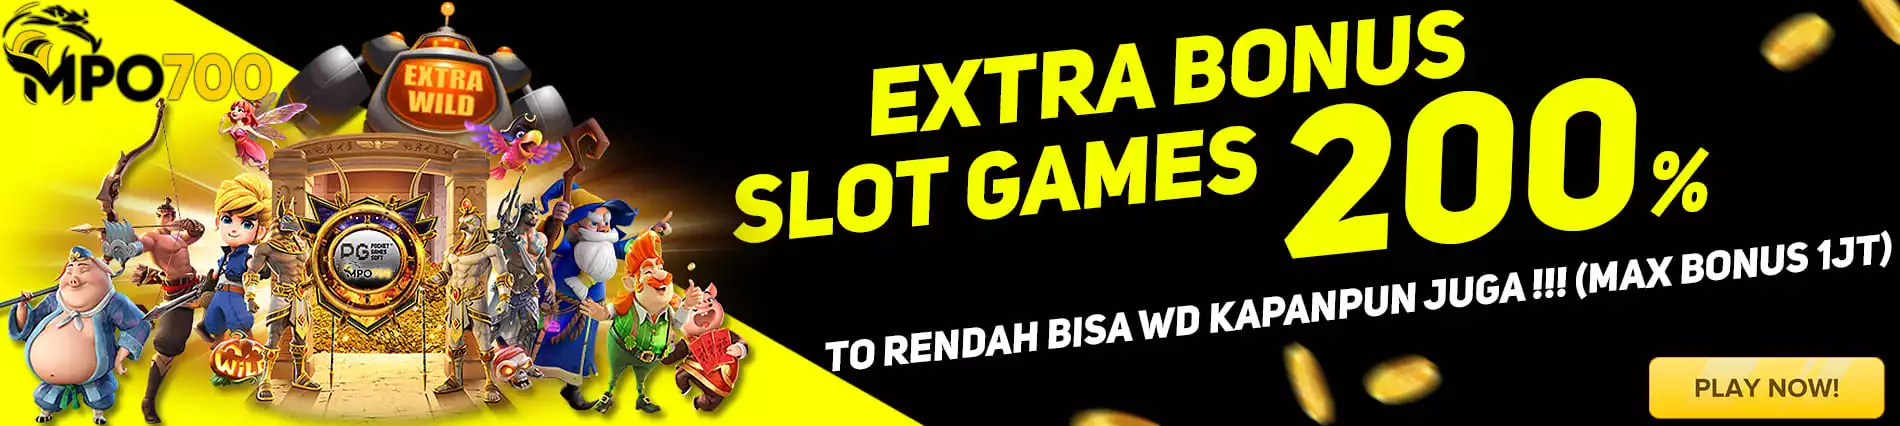
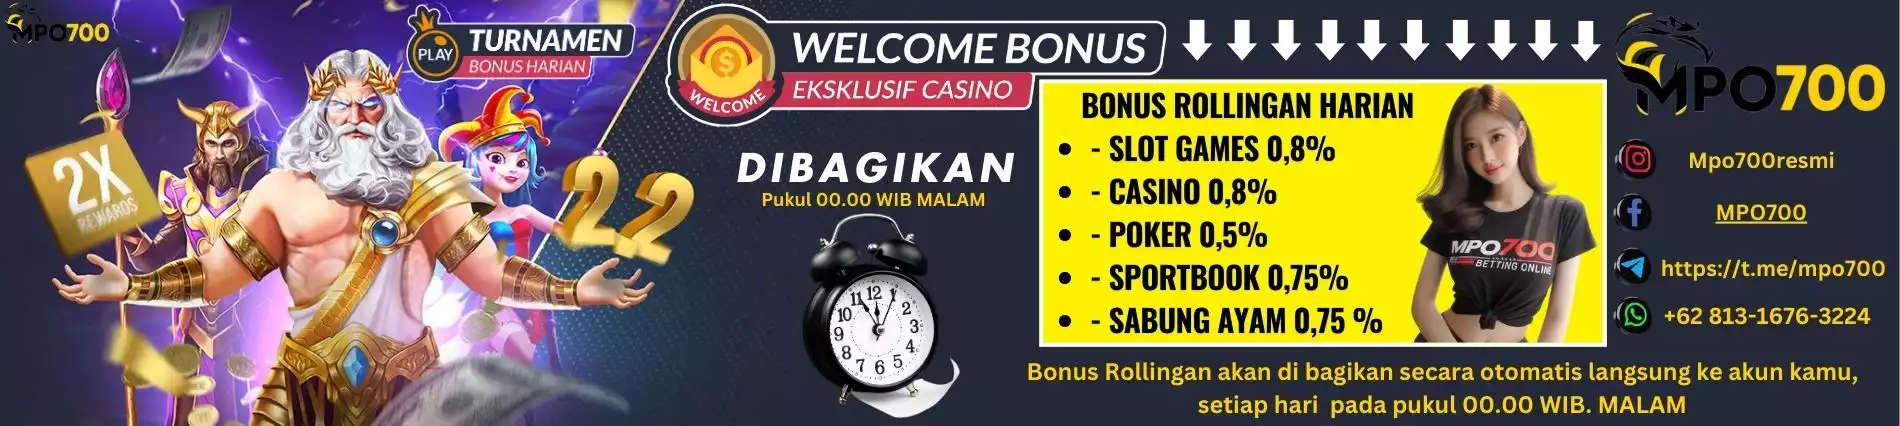
MPO700: Promo Judi Online Terbesar Untuk Semua Permainan
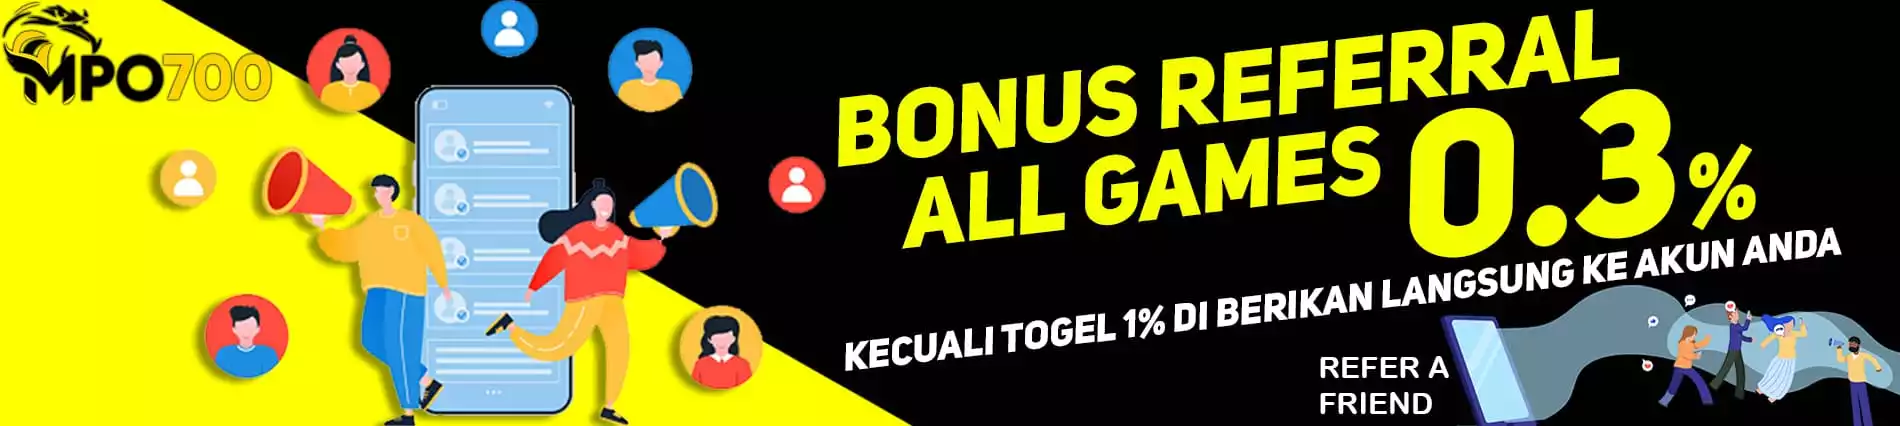
Promo Judi Online ataupun juga bisa disebut bonus yang ditawarkan dari Agen Slot Online MPO700 ada sangat banyak sekali. Dan semua bonus yang ditawarkan pun sangat gampang untuk diklaim serta dengan syarat ketentuan yang gampang dipenuhi. Mulai dari bonus new member 100%, bonus perdana new member, extra bonus 200%, bonus harian 10% dan masih banyak lagi. Jika anda berhasil mengajak teman anda bergabung dengan memberikan kode referral anda, anda juga pasti akan mendapatkan bonus juga. Perlu diketahui juga, meskipun syarat ketentuan gampang untuk dipenuhi jika satu syarat tidak terpenuhi maka gagal untuk mengklaim bonus ini.
MPO700: Keamanan Pasti Terjamin Bermain di Pusat Judi Online Terbesar MPO700
Beberapa pihak mungkin berhasil mengecoh member dengan data rekening yang sudah diberikan untuk pendaftaran. Dengan iming-iming bermain judi online tetapi malah data milik member dicuri untuk kepentingan lain. Tetapi jika anda bermain di MPO700 anda akan dijamin dengan keamanan data dan privasi yang aman. Karena setiap anda melakukan pendaftaran di form pendaftaran Daftar Judi Online MPO700, maka setiap data yang dimasukkan akan langsung terenkripsi dengan sistem kami. Terjamin aman dan sulit untuk dijebol sekalipun IT terkuat di bumi ini. Jadi tidak perlu untuk khawatir jika data yang sudah didaftarkan akan terjadi kebocoran ke publik. Jadi tunggu apalagi ? Daftarkan diri anda dan ajak teman serta kerabat terdekat anda untuk bergabung bersama MPO700.


